'Text to Excel Wizard' Features
If you need to convert TXT to Excel (XLS, XLSX or CSV), this application comes with the features you'll need:
General
Conversion Tool Extras
- Powerful, fast, recipe driven, and very easy to use. Process huge number of files with similar table structures (but with different data).
- Eliminates the possibility of human error when moving data from text to Excel/CSV.
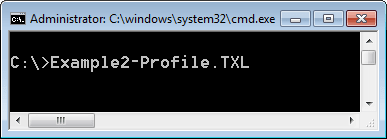
- Command line has been made so simple anyone can use it with no training at all. Automate 'Text to Excel Wizard' using the command line. Run in batches. Optionally use Windows Scheduler for complete hands free conversion jobs.
- Automatically reads text reports, and creates CSV or Microsoft Excel spreadsheets files.
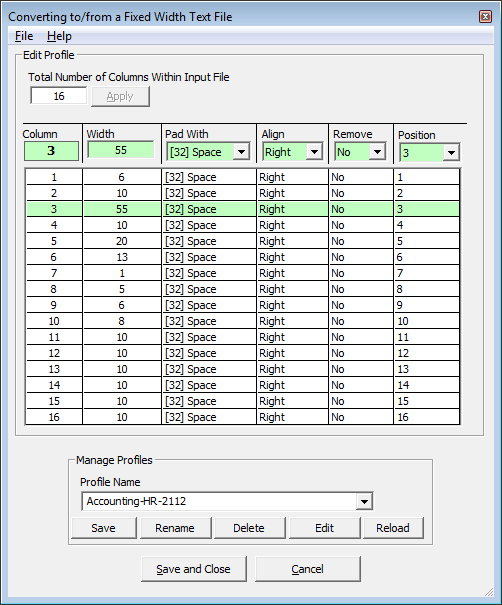
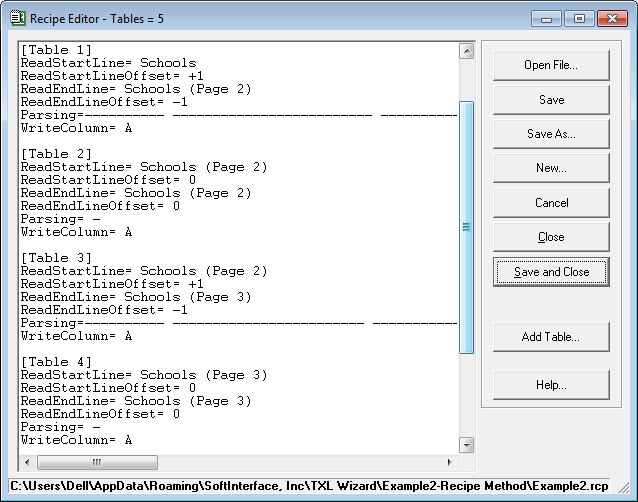
- Three methods to handle all text to Excel file conversions (Profile, Recipe and File Marking).
- Do one or thousands of files and folders.
- Compatible with future changes in input text file format with minor changes.
- Generating a new report with different data is a single click process.
- New Recipe/Profile creation/editing typically takes a few seconds to a few minutes depending on complexity.
- Installed with numerous examples for training purposes.